


Inspect and verify components, connections, and cartridges for damage or issues. Gather correct tools, parts, and gear for DIY repairs or professional maintenance. Regularly maintain and replace parts to preserve car value and enhance driving experience. Disassemble old cartridges, clean components, refill/replace with genuine Mercedes parts, then reassemble and test functionality.
Looking to revive the aroma of your Mercedes? This DIY guide provides a step-by-step approach to repairing your Mercedes fragrance system, ensuring an optimal scent experience. From assessing damage to gathering tools and replacement parts, we break down the process simply. No more dull or uneven scents—learn how to restore your car’s aromatic ambiance like new. Discover expert tips for a successful Mercedes fragrance system repair today.
- Assessing Your Mercedes Fragrance System Damage
- Gathering Necessary Tools and Replacement Parts
- Step-by-Step Repair Process for Optimal Scent Experience
Assessing Your Mercedes Fragrance System Damage
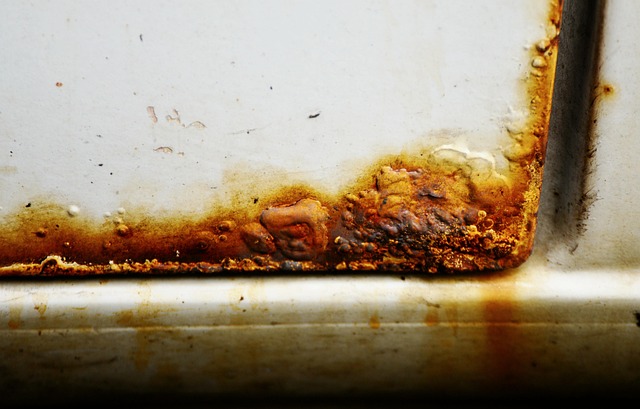
When assessing damage to your Mercedes fragrance system, start by inspecting the components for any visible signs of wear, cracks, or leaks. The scent diffuser, often located under the dashboard, is a common area to check. If it’s cracked or damaged, replacing it might be necessary. Next, verify that all connections are secure and in good condition; loose or corroded wires could disrupt the system’s functionality.
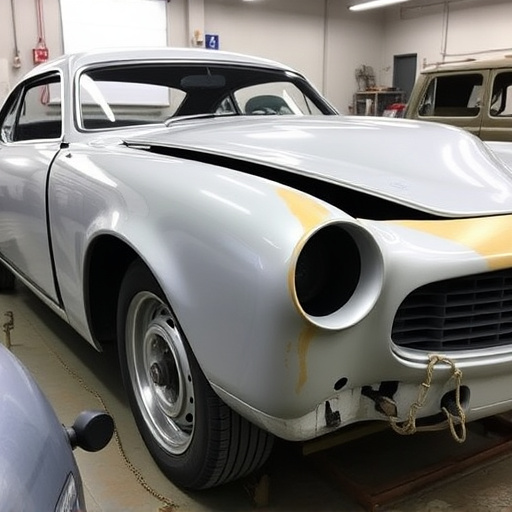
Don’t overlook potential issues with the fragrance cartridges or the control unit. Cartridges may need replacement if they’re old or clogged, while the control unit should be checked for any faulty circuitry or software glitches. If you’re considering a DIY repair, ensure you have the right tools and access to reliable car paint services or automotive repair kits for any necessary replacements, even if it’s just a simple bumper repair.
Gathering Necessary Tools and Replacement Parts
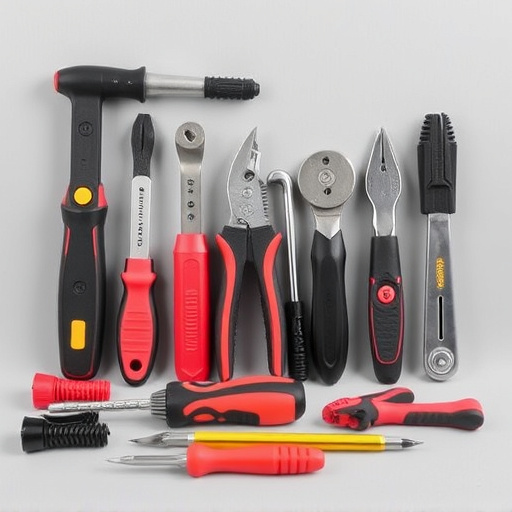
Before tackling any Mercedes fragrance system repair, ensure you have all the necessary tools and replacement parts at hand. This includes a variety of screwdrivers (both flathead and Phillips), pliers, a new scent cartridge (compatible with your Mercedes model), cleaning solutions, and possibly some rubber gloves for safety. It’s crucial to source genuine or high-quality aftermarket parts for optimal performance and longevity, especially when dealing with components that impact the car’s interior aesthetics and smell, like the fragrance system.
Properly identifying your Mercedes model and its specific fragrance system is key. Different models have distinct designs and scent cartridge types. You might need to consult your vehicle’s owner manual or perform a web search for detailed diagrams and part numbers. Remember that proper auto maintenance involves regular checks and replacements, so staying on top of these tasks can help maintain the car’s value and ensure an enjoyable driving experience, both in terms of performance and the pleasant aroma within your car’s bodywork.
Step-by-Step Repair Process for Optimal Scent Experience

Repairing your Mercedes fragrance system is a straightforward process that can significantly enhance your vehicle’s aroma experience. Start by locating the scent control unit, typically found under the steering wheel or in the glove compartment area. This is where the magic happens – controlling and distributing fragrances throughout your Mercedes. Before you begin, ensure the power is off to avoid any electrical mishaps.
Next, follow these steps:
1. Disassemble: Carefully remove the old scent cartridges, taking note of their placement for easy reassembly later. These are responsible for releasing the chosen fragrance into the cabin.
2. Clean: Use a soft cloth to wipe down all components, removing any dust or debris that may affect scent distribution. A clean system ensures your new or refilled cartridges deliver the best possible aroma.
3. Replace/Refill: This is where you can choose to replace old cartridges with new ones or refill existing ones. Using genuine Mercedes parts will ensure optimal performance and scent intensity.
4. Reassemble: Put everything back in place, ensuring each part fits snugly. Test the system by turning on the car and selecting different fragrances to confirm it’s working seamlessly.
Reparing your Mercedes fragrance system is a straightforward DIY project that can significantly enhance your vehicle’s interior ambiance. By following these simple steps, outlined in this guide, you can effectively assess and fix damage, gather the right tools and parts, and ultimately restore your car’s pleasant aroma. With a bit of time and patience, you’ll be driving in style with a fresh scent that reflects your Mercedes’ luxury. Remember, a well-maintained fragrance system is key to transforming your daily commute into an enjoyable sensory experience.